1. The Essentials
📸 Camera Basics
Any camera can work — a smartphone, a DSLR, or a mirrorless. The key is learning how to control it.
Manual controls matter — understanding shutter speed, aperture, and ISO gives you creative freedom.
Glass over body — a good lens has more impact on image quality than an expensive camera.
Start simple — one camera, one prime lens (like 35mm or 50mm). Less gear means more learning.
📷 DSLR vs Mirrorless Cameras
DSLR cameras are a bit bigger and use a mirror inside to show you the scene through an optical viewfinder — you’re seeing exactly what’s in front of you, not what the final image will look like. They offer a more traditional shooting experience.
Mirrorless cameras are smaller and lighter because they don’t have a mirror. What you see on the screen (or electronic viewfinder) is a live preview of your final image — including exposure, color, and depth of field. They’re good for both photos and videos.
🔎 Prime vs Zoom Lenses
Prime lenses have a fixed focal length (like 35mm or 50mm) and can’t zoom in or out. You “zoom” by physically moving closer or further from your subject.
Zoom lenses cover a range of focal lengths (like 24-70mm or 70-200mm), letting you adjust your composition without changing position.
Key differences:
- Prime lenses: Usually have wider maximum apertures (
f/1.4–f/2.8), better optical quality, are smaller/lighter, and often cheaper. - Zoom lenses: Offer more flexibility and convenience, especially when you can’t physically move closer to your subject.
💡 A
50mmprime lens (often called a nifty fifty) is an affordable, versatile first lens that teaches you to think about composition instead of relying on zoom.
2. Understanding Light
🌤️ The Exposure Triangle
To capture great images, it’s essential to understand the Exposure Triangle: shutter speed, aperture, and ISO. These three elements work together to balance the light in your photos. Mastering them allows you to confidently control your camera settings and achieve the desired effect.
⏱️ Shutter Speed: Controlling Motion
Shutter speed determines how motion is captured:
- Fast shutter speed: Freezes action, ideal for sports or fast-moving subjects.
- Slow shutter speed: Creates motion blur, conveying a sense of movement, useful for creative effects like flowing water or nighttime traffic.
🔘 Aperture: Depth and Light
Aperture controls the amount of light entering the lens and significantly impacts Depth of Field:
- Wide aperture (low f-number like
f/1.8): Results in a shallow DoF, perfect for portraits or close-up shots. - Narrow aperture (high f-number like
f/11): Creates a deep DoF, suitable for landscapes or group photography where more of the scene needs to be in focus.
💡 Use Aperture Priority mode (A/Av) to control depth of field, while letting the camera automatically adjust other settings.
🔦 ISO: Sensitivity and Noise
ISO adjusts your camera sensor’s sensitivity to light, impacting both exposure and image quality:
- Low ISO (e.g.
ISO 100): Produces clean, noise-free images and is best used in bright conditions. - High ISO (e.g.
ISO 3200or higher): Allows photography in low-light conditions but introduces digital noise or grain.
💡 Always select the lowest possible ISO setting that still achieves correct exposure.
💡 Don’t hesitate to use higher ISO settings if needed — a slightly noisy yet sharp image is preferable to a blurred, noise-free photo.
3. Key Concepts
📏 Depth of Field: The Focus Zone
Depth of field (DoF) is simply how much of your photo is in sharp focus from front to back.
 — Shallow depth of field, only a small slice of the image is in focus.
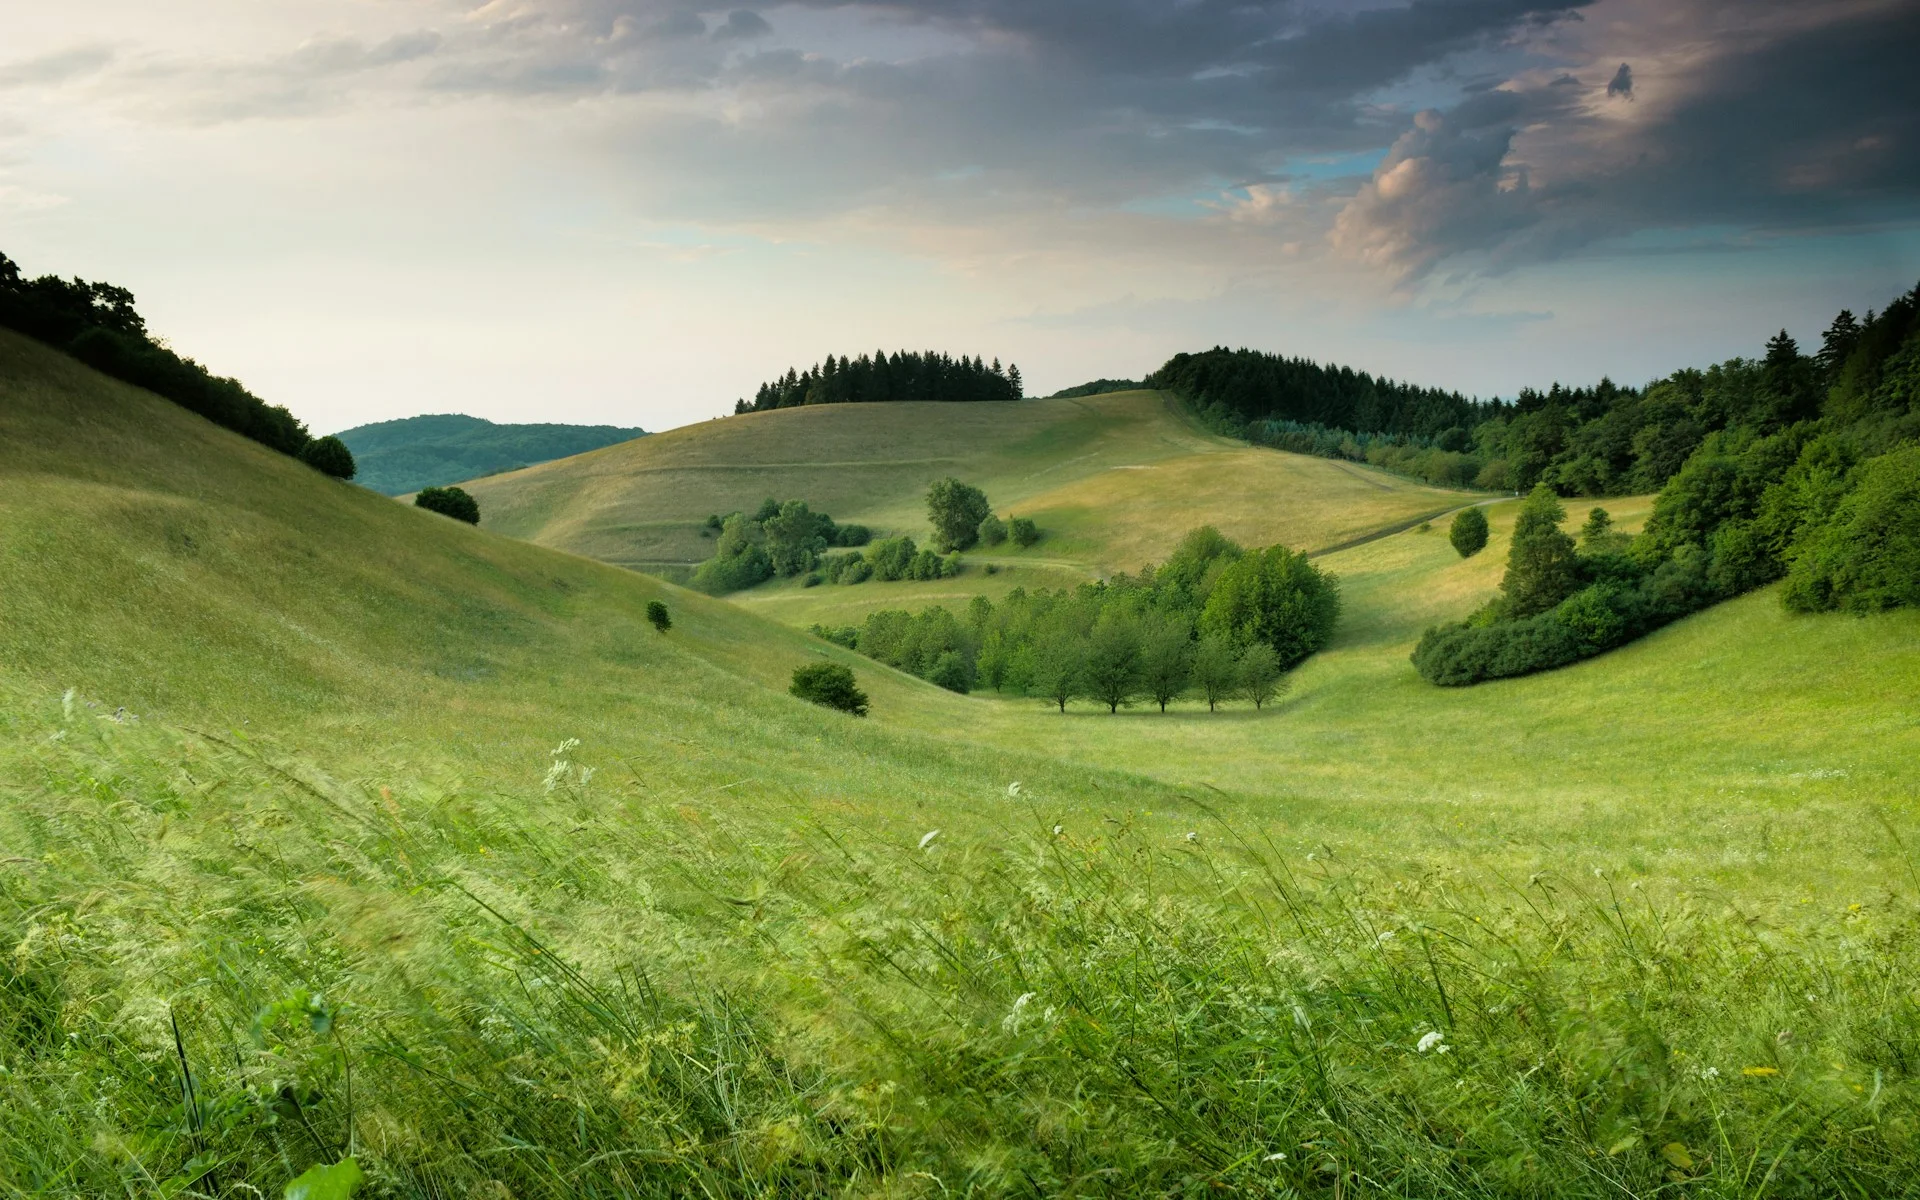 — Deep depth of field, most or all of the image is in focus.
Three main factors affect depth of field:
- Aperture size: Wider apertures (lower f-numbers like
f/1.8) create shallower DoF; narrower apertures (higher f-numbers likef/11) create deeper DoF. - Distance to subject: The closer you are to your subject, the shallower your DoF.
- Focal length: Longer focal lengths (telephoto lenses) create shallower DoF than wide-angle lenses.
🧠 Controlling depth of field helps direct attention to your subject and create the mood you want. Portrait and product photographers often want shallow DoF to isolate subjects, while landscape photographers typically want deep DoF to show everything clearly.
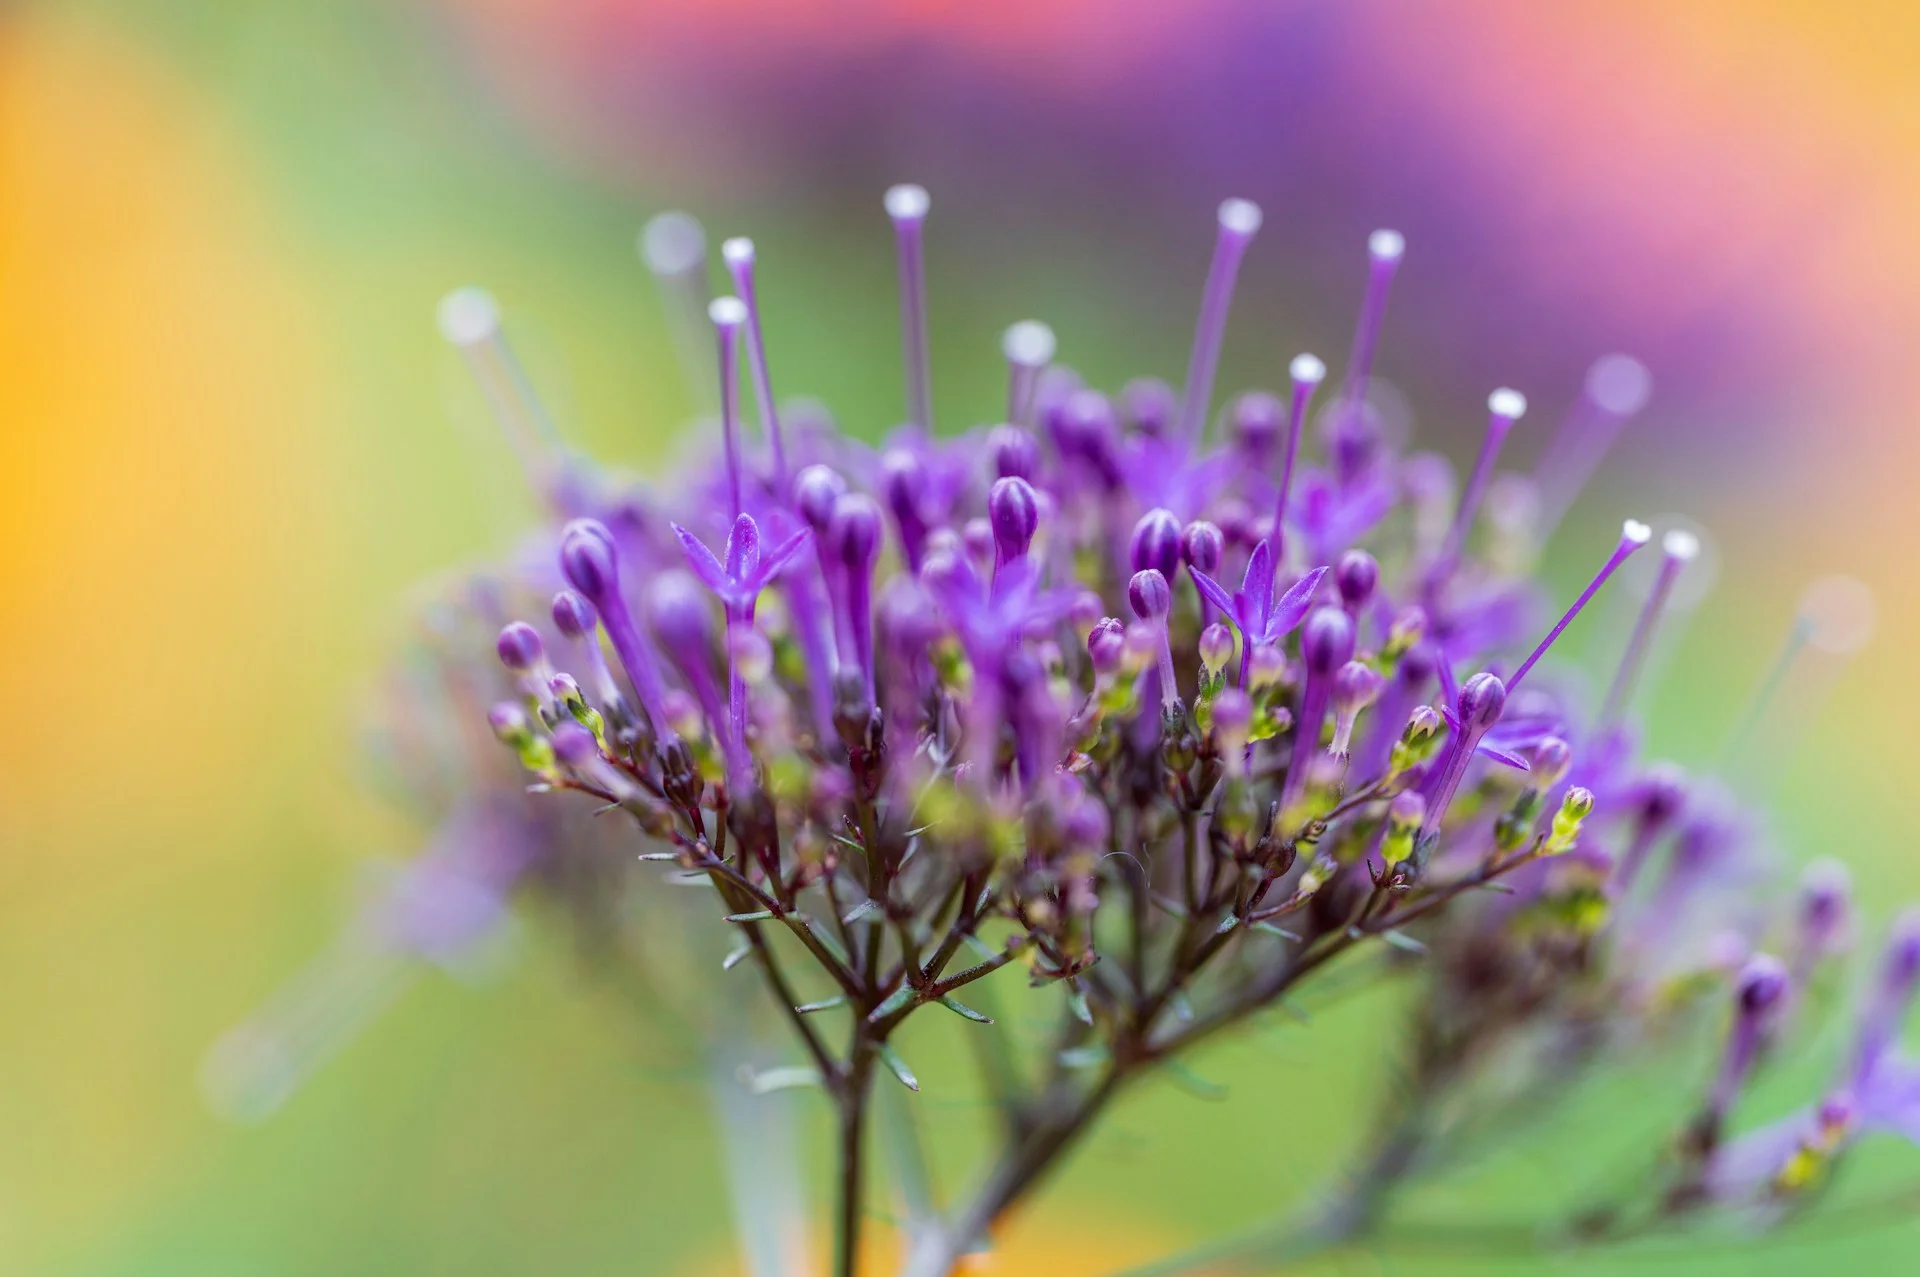
🌸 Bokeh: The Art of Beautiful Blur
Bokeh refers to the aesthetic quality of the out-of-focus areas in an image — essentially, how good the blur looks.
 — A good Bokeh is smooth, creamy, and pleasing to the eye.
Bokeh is most noticeable in:
- Background points of light (like distant streetlights or sunlight through leaves).
- Areas with high contrast.
- Highlights behind your subject.
Fast lenses with wide apertures (f/1.4–f/2.8) typically produce the most pronounced Bokeh effect. Each lens has its own Bokeh “signature” based on its design and aperture blade shape.
🧠 Beautiful Bokeh can transform an ordinary portrait into something magical, adding a dreamy, professional quality to your images.
📊 Exposure: Balancing Light
Exposure is how bright or dark your photo is. Getting the right exposure means capturing the optimal amount of light for your scene:
 — Different exposures — underexposed, proper exposure, overexposed.
Your camera measures exposure in “stops” of light, where each stop represents doubling or halving the amount of light. The histogram (explained later) is your best tool for evaluating exposure accurately.
🧠 Proper exposure is the foundation of a technically good photograph. While you can adjust exposure somewhat in editing, capturing the right exposure in-camera gives you the best image quality and most flexibility later.
🛑 Understanding F-Stops & the Doubling Rule
In photography, f-stops (or exposure stops) are a way of measuring how much light you let into the camera. Each full stop of change in your camera’s exposure settings doubles or halves the amount of light hitting the sensor. This rule applies to aperture, shutter speed, and ISO.
🔘 Aperture: F-Stops and Depth of Field
Aperture is measured in f-stops, such as f/1.4, f/2, f/2.8, f/4, f/5.6, f/8, f/11, f/16, and so on.
Each full stop change halves or doubles the light:
- Moving from
f/2.8tof/4halves the light - Moving from
f/4tof/2.8doubles the light
📝 A lower f-number means a wider aperture, more light, and a shallower depth of field. A higher f-number means a narrower aperture, less light, and a deeper depth of field.
⏱️ Shutter Speed: Measured in Fractions of a Second
Shutter speed follows the same doubling rule. For example:
1/125slets in twice as much light as1/250s1/500slets in half as much light as1/250s
Each step up or down in shutter speed is a full stop.
🔦 ISO: Digital Sensitivity
ISO is also based on a doubling scale:
ISO 100→ISO 200→ISO 400→ISO 800→ISO 1600, and so on
Each step up doubles the sensor’s sensitivity to light. So:
ISO 200is one stop brighter thanISO 100ISO 400is two stops brighter thanISO 100
🔄 Compression: Spatial Relationships
Compression refers to how different lenses affect the perceived distance between objects in your frame — essentially, how “flat” or “deep” a photo feels.
 — Different lenses — wide angle, standard, telephoto.
📷 Wide-Angle Lenses
- Expand space in depth
- Make objects appear farther apart
- Can distort facial features in close-ups (e.g. large nose, small ears)
🔭 Telephoto Lenses
- Compress space in depth
- Make background elements appear closer to your subject
- More flattering for portraits, with natural-looking facial proportions
🧠 Understanding lens compression helps you make intentional creative decisions. Use it to:
- Create drama or intimacy in portraits
- Show scale and distance in landscapes
- Control how background elements relate to your subject
4. Camera Controls: Making Technical Decisions
⚙️ Choosing the Right Exposure Mode
- Aperture Priority (A/Av): Ideal for portraits, food photography, landscapes, and low-light scenarios. You set the aperture to manage depth of field; your camera adjusts shutter speed.
- Shutter Priority (S/Tv): Perfect for action photography, such as sports or wildlife. You select shutter speed to control motion capture; your camera sets the aperture accordingly.
- Manual Mode (M): Best for complete creative control, tricky lighting conditions, night photography, or when deepening your understanding of exposure. You control shutter speed, aperture, and ISO.
💡 For fast-changing conditions, Aperture Priority combined with exposure compensation (
+/-) offers both flexibility and control.
📊 Metering Modes: How Cameras Measure Light
| Mode | What It Does | Best For |
|---|---|---|
| Matrix / Evaluative | Analyzes the entire scene evenly | Most situations |
| Center-weighted | Prioritizes the center of the frame | Portraits or centered subjects |
| Spot | Measures light in a small focus point | High-contrast scenes (e.g. concerts, backlighting) |
💡 Use exposure compensation to fix bad metering.
💡 Use AE-L to lock exposure when recomposing.
📉 The Histogram: Your Photo’s Truth Detector
The histogram is a graph that shows how brightness is distributed across your photo. It helps you understand exposure without relying on your camera’s screen, which can be misleading in bright or dark conditions.
- Shadows are on the left, midtones in the middle, highlights on the right.
- A well-balanced histogram spreads across the graph.
 — Histogram comparison — underexposed, proper exposure, overexposed.
⚠️ Watch for clipping:
- Spikes cut off on the left mean clipped shadows (lost detail in darks).
- Spikes cut off on the right mean blown highlights (lost detail in brights).
🎯 ETTR (Expose To The Right): Intentionally expose a little brighter without clipping highlights. This gives cleaner shadows and more data to work with in editing.
💡 If your camera supports it, turn on the histogram in live view to adjust exposure in real-time while composing your shot.
5. Technical Concepts: Understanding Your Equipment
🔎 Focal Length: More Than Just Zoom
Focal length, measured in millimeters (mm), indicates the distance between the lens’s optical center and the camera sensor. It influences how your subject and the surrounding space appear:
- Wide-angle lenses (e.g.
24mm) exaggerate space, making scenes feel expansive. - Telephoto lenses (
85mmand above) compress space, creating a flattering effect on faces and making the background appear closer to your subject.
💡 Try photographing the same subject at different focal lengths to see how dramatically it changes the composition and mood.
📐 Sensor Size and Its Impact
Sensor size influences both your field of view and depth of field:
Field of View: When people talk about focal lengths like 50mm or 85mm, they’re using full-frame cameras as the standard — these have sensors the same size as classic 35mm film.
But if your camera has a smaller sensor (like an APS-C), the image will look more zoomed in — even with the same lens.
📝 For example, a
50mmlens on an APS-C camera with a1.5xcrop factor gives you a field of view similar to a75mmlens on full-frame. That’s because the smaller sensor captures a narrower portion of the image — effectively cropping it in.
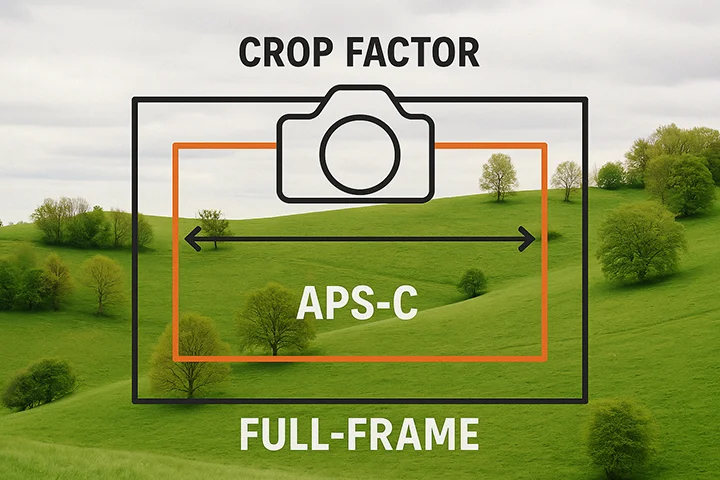 — Crop factor = Full-frame diagonal / Sensor diagonal
Depth of Field (DoF): With the same framing and aperture settings:
- A smaller sensor produces a deeper DoF, meaning more of the image appears in focus.
- A larger sensor (like full-frame) results in a shallower DoF, ideal for creating soft, blurred backgrounds.
This difference happens because achieving similar framing on smaller sensors requires either:
- Using a shorter focal length, which increases DoF.
- Moving farther from your subject, which also increases DoF.
💡 For soft, dreamy backgrounds, full-frame sensors make it easier to achieve a shallow depth of field.
💡 Smaller sensors naturally provide greater depth of field at wide apertures, keeping more of your image sharp without needing to stop down tof/11orf/16.
This is also why smartphones often simulate background blur with software — their small sensors naturally produce deep depth of field.
6. Shaping the Shot: Composition, Light & Mood
Thoughtful composition transforms a good photo into an exceptional one. Here are key techniques to elevate your photography:
🟩 Rule of Thirds
Position your subject at grid intersections or along grid lines to create visually balanced and engaging images.
➿ Leading Lines
Incorporate lines within your scene to naturally guide the viewer’s eye towards the subject.
⚖️ Symmetry & Balance
Achieve visual harmony by balancing elements in your frame, utilizing symmetry and negative space to create calm and appealing photos.
🖼️ Framing
Use elements like windows, doorways, or trees in the foreground to frame your subject. This adds depth and context to your shot.
🌫️ Depth Through Layers
Combine a clear foreground, subject, and background to create a sense of depth, making your 2D photos appear three-dimensional.
🎯 Focus Techniques
- Zone Focusing: Choose a specific focus distance and a small aperture to create a sharp “zone” — ideal for street photography or fast-paced situations.
- Portrait Focus: 🎯 Always focus on the subject’s closest (or “strong”) eye — it’s where viewers naturally look first. A sharp eye gives your portrait emotional impact and visual clarity.
- Street Photography: 🚶♂️ Keep camera ready, zone focused, chest level.
🌅️ Golden Hour for Composition
The soft, directional light just after sunrise and before sunset not only enhances color and mood but also emphasizes shapes, textures, and depth — making it ideal for strong composition.
⚫ Black & White
Black and white photography strips away color distractions and highlights the structure, contrast, and textures in your image — ideal for emphasizing relief and form in a scene.
7. Final Thoughts
The magic of photography isn’t in perfect settings — it’s in those little moments that make you feel something. Freezing a laugh, catching the light just right, telling a story without saying a word.
Know the rules, sure — but don’t be afraid to break them. Chase the feeling, not the pixels.