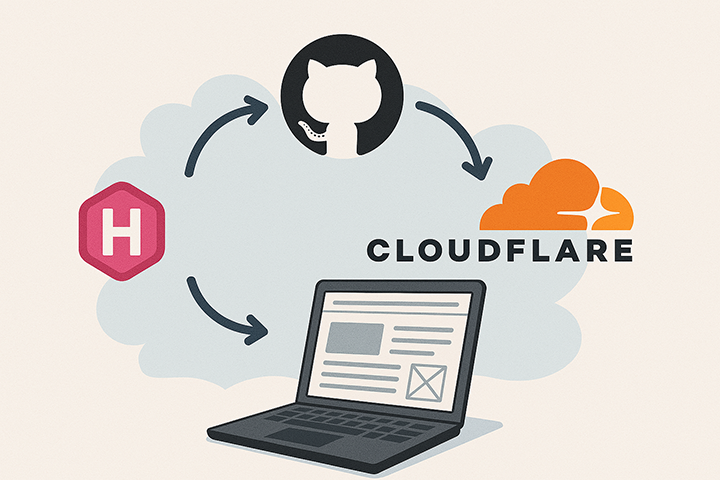
This guide explains how to create a fast, static website using Hugo, manage it with GitHub, and deploy it via Cloudflare Pages — all without incurring any costs.
Follow these steps to install Hugo, set up your site and theme, configure GitHub for version control, and deploy your website globally with Cloudflare Pages.
Install Hugo
Begin by downloading and installing Hugo from the official website:
Visit https://gohugo.io/
Verify your installation by running:
hugo version
Create your Hugo website
Create a new Hugo site with the YAML configuration format:
hugo new site mysite --format yaml
cd mysite
Set up your Hugo theme
Choose and install your desired theme (for example, PaperMod) by using Git submodules. This method references a specific commit of the theme repository, ensuring consistency even if the original theme updates later.
Initialize Git and add the theme as a submodule:
git init
git submodule add https://github.com/adityatelange/hugo-PaperMod.git themes/PaperMod
What happens here:
git initcreates a new, empty Git repository.git submodule addadds the theme as a separate Git repository underthemes/PaperMod, creating:- a
.gitmodulesfile that records the submodule path and URL. - a pointer to a specific commit rather than the entire theme code.
- a
Note: This pointer ensures that your project consistently uses the exact version of the theme you added—even if the theme repository is updated later.
Why use
git submodule addinstead ofgit clone?
Using submodules keeps third-party code separate from your own Git history. It tracks only a reference to a specific commit, making updates straightforward. Simply navigate to the theme folder, pull the latest changes, and commit the updated pointer. Moreover, CI/CD platforms like Cloudflare Pages can fetch submodules automatically with:git submodule update --init --recursive
Now, commit the submodule reference and .gitmodules file:
git add .gitmodules themes/PaperMod
git commit -m "Add PaperMod theme as submodule"
Configure your website
Create a .gitignore file to exclude Hugo-generated files:
/public/
Edit the hugo.yaml configuration file to set up your site:
baseURL: "https://yoursite.com"
title: My Beautiful Site
theme: PaperMod
Create your first post with:
hugo new posts/my-first-post/index.md
Then, edit the content in content/posts/my-first-post/index.md using your favorite text editor.
Preview your site locally
Run the Hugo server to preview your site during development:
hugo server -D
Visit http://localhost:1313 in your browser to see your site in action.
Tip: If you cloned a repository that already includes a submodule, update it using:
git submodule update --init --recursive
Host your website on GitHub
Set up GitHub to version control your site:
Create a new repository on GitHub (e.g.,
mysite).Link your local repository and push your code:
git remote add origin https://github.com/yourusername/mysite.git
git add .
git commit -m "Initial commit"
git push -u origin main
Deploy on Cloudflare Pages
Deploy your site using Cloudflare Pages:
- Sign up at Cloudflare Pages and create a new project.
- Connect your GitHub account and select your
mysiterepository. - Configure the deployment settings:
- Framework preset: Hugo
- Build command:
git submodule update --init --recursive && hugo - Build output directory:
public - Environment variables: Add
HUGO_VERSION(for example,0.145.0— adjust to your installed version)
Important: Cloudflare does not automatically fetch submodules. The
git submodule update --init --recursivecommand is required to retrieve the theme based on the pointer you committed.
- Click Deploy site to start the deployment process.
Configure your domain (optional)
To use a custom domain:
- In Cloudflare Pages, navigate to Custom domains.
- Add your own domain or choose a free Cloudflare-provided one.
Conclusion
You’ve now built and deployed a fast, secure static website using Hugo, GitHub, and Cloudflare Pages — all at no cost. Compared to GitHub Pages, Cloudflare Pages offers several key advantages: native support for Hugo builds, automatic HTTPS via Cloudflare’s global CDN, and powerful performance optimizations like smart caching and proxying. Plus, you get seamless integration with GitHub for version control and CI/CD, without needing to configure separate actions or workflows.